So, you have decided to convert your loft and now want to know what happens. We’ve pulled together this handy step by step guide that shows you what to expect during a loft conversion.
Stage One:
An inspection by SkyLofts specialists of the inside of the roof space provided the home owners as to its suitability for conversion. The main features that should initially be considered are head height and access to the loft once it has been converted. SkyLofts can advise you on whether or not your loft is is suitable for a conversion.
Stage Two:
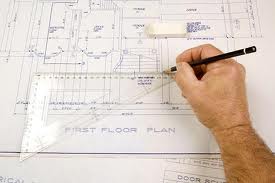
After SkyLofts have confirmed that your loft is suitable for conversion plans with SkyLofts recommended architect will be drawn up, this will provide a basis for cost analysis.
Stage Three:
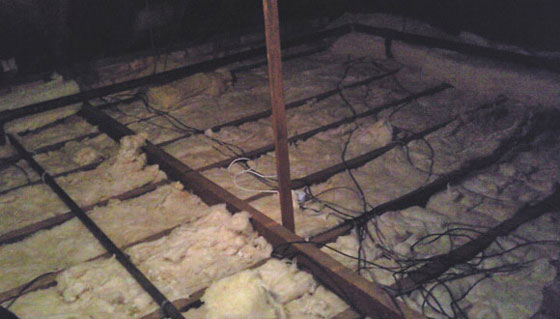
With SkyLofts obtaining building control approval, work on your loft conversion can begin. The first place to start is by clearing the loft and then the electrical wiring and other services that are attached to your joist and binders must be removed and rerouted, this can also provide a great opportunity to replace and improve your original wiring. Scaffolding on the outside of your property will also be erected to minimize the amount of times we have to access your loft via the inside of your home.
Stage Four:
New floor joists can now be fitted aswell as new wiring and any pipework that is required can be installed.
Stage Five:
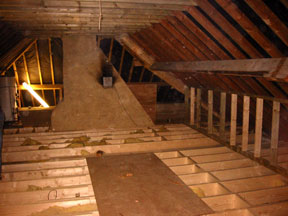
The spaces between your joists are then filled with insulation and then following building control inspections arranged by SkyLofts the joists can be covered with floorboards held in place with screws. A water-resistant grade is a good choice and one recommended by SkyLofts.
Stage Six:
Work will now start on rafter reinforcement in accordance with your structural requirements and dormer/mansard and velux’s will be installed. After this SkyLofts will arrange for a Building Control Officer to inspect your loft conversion so far, ensuring that the roof structure reinforcements are as specified.
Stage Seven:
Next SkyLofts will install your main staircase structure, handrails and spindles where required. Once this is fitted you will be able to see your new loft for the first time.
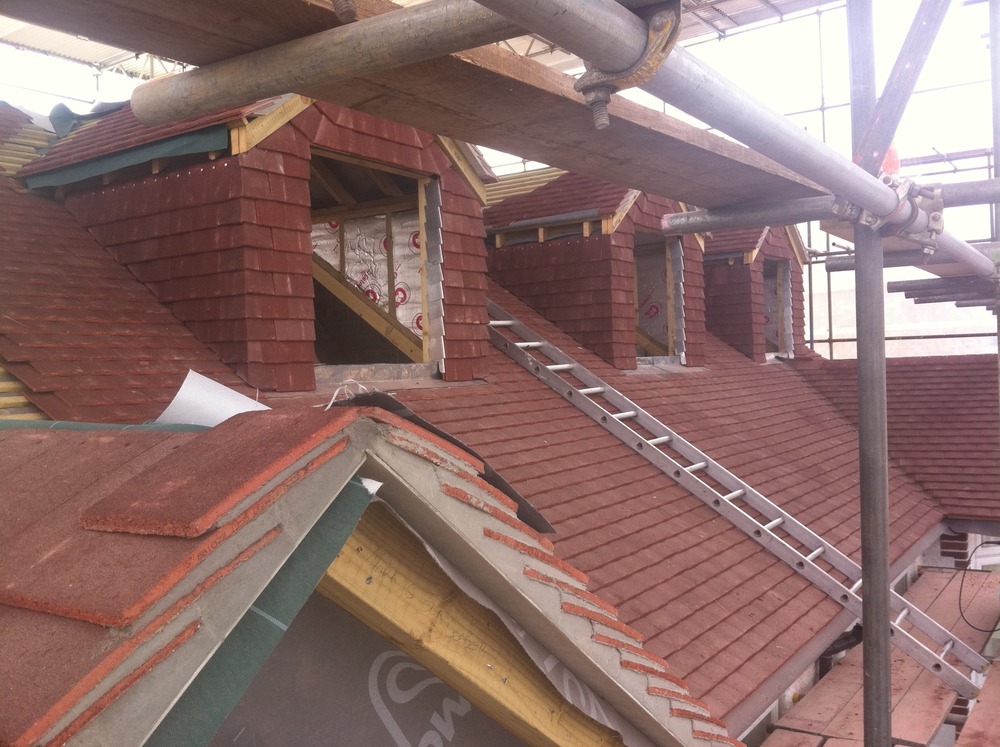
Stage Eight:
Your loft roof is then fully tiled and cladded to make them fully waterproof and ridge and soffit vents are fitted.
Stage Nine:
Your loft conversion windows can then be fitted and insulation is placed between the rafters. SkyLofts will then arrange for Building Control to inspect before the rafters and insulation is covered.
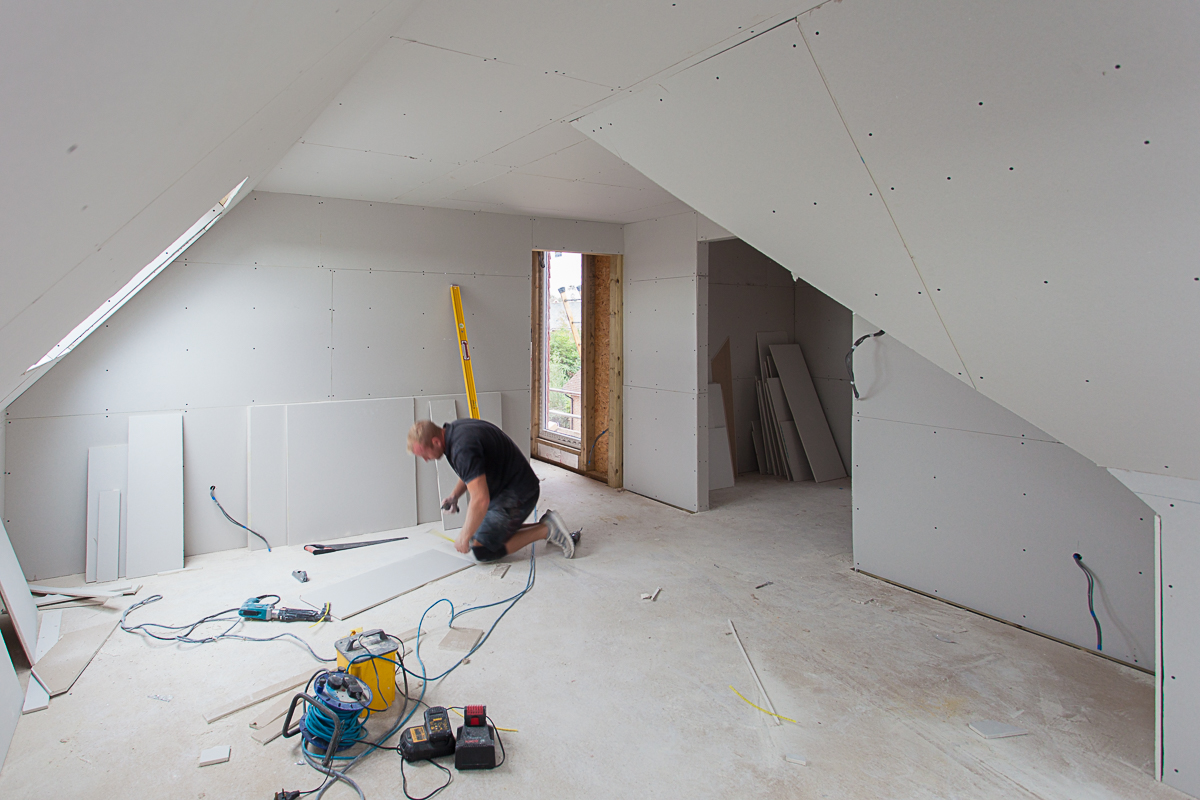
Stage Ten:
The partition walls are erected with timber studs and additional noggins. A quilt is placed within the spaces between the studs as the plasterboard is attached.
Stage Eleven:
The wall plates fitted between studs will provide a secure fitting for items like radiators and can also be used to secure the boxes required for electric switches and sockets. At this stage the first fix of electrics and plumbing will take place.
Stage Twelve:
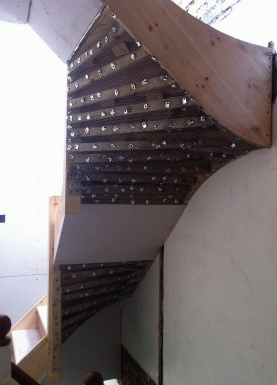
Plasterboard are then attached to the studs and rafters with drywall screws providing the basis for the decorative plaster skim. Following this your loft conversion can be painted as required, and door architrave and skirting can be fitted and painted.
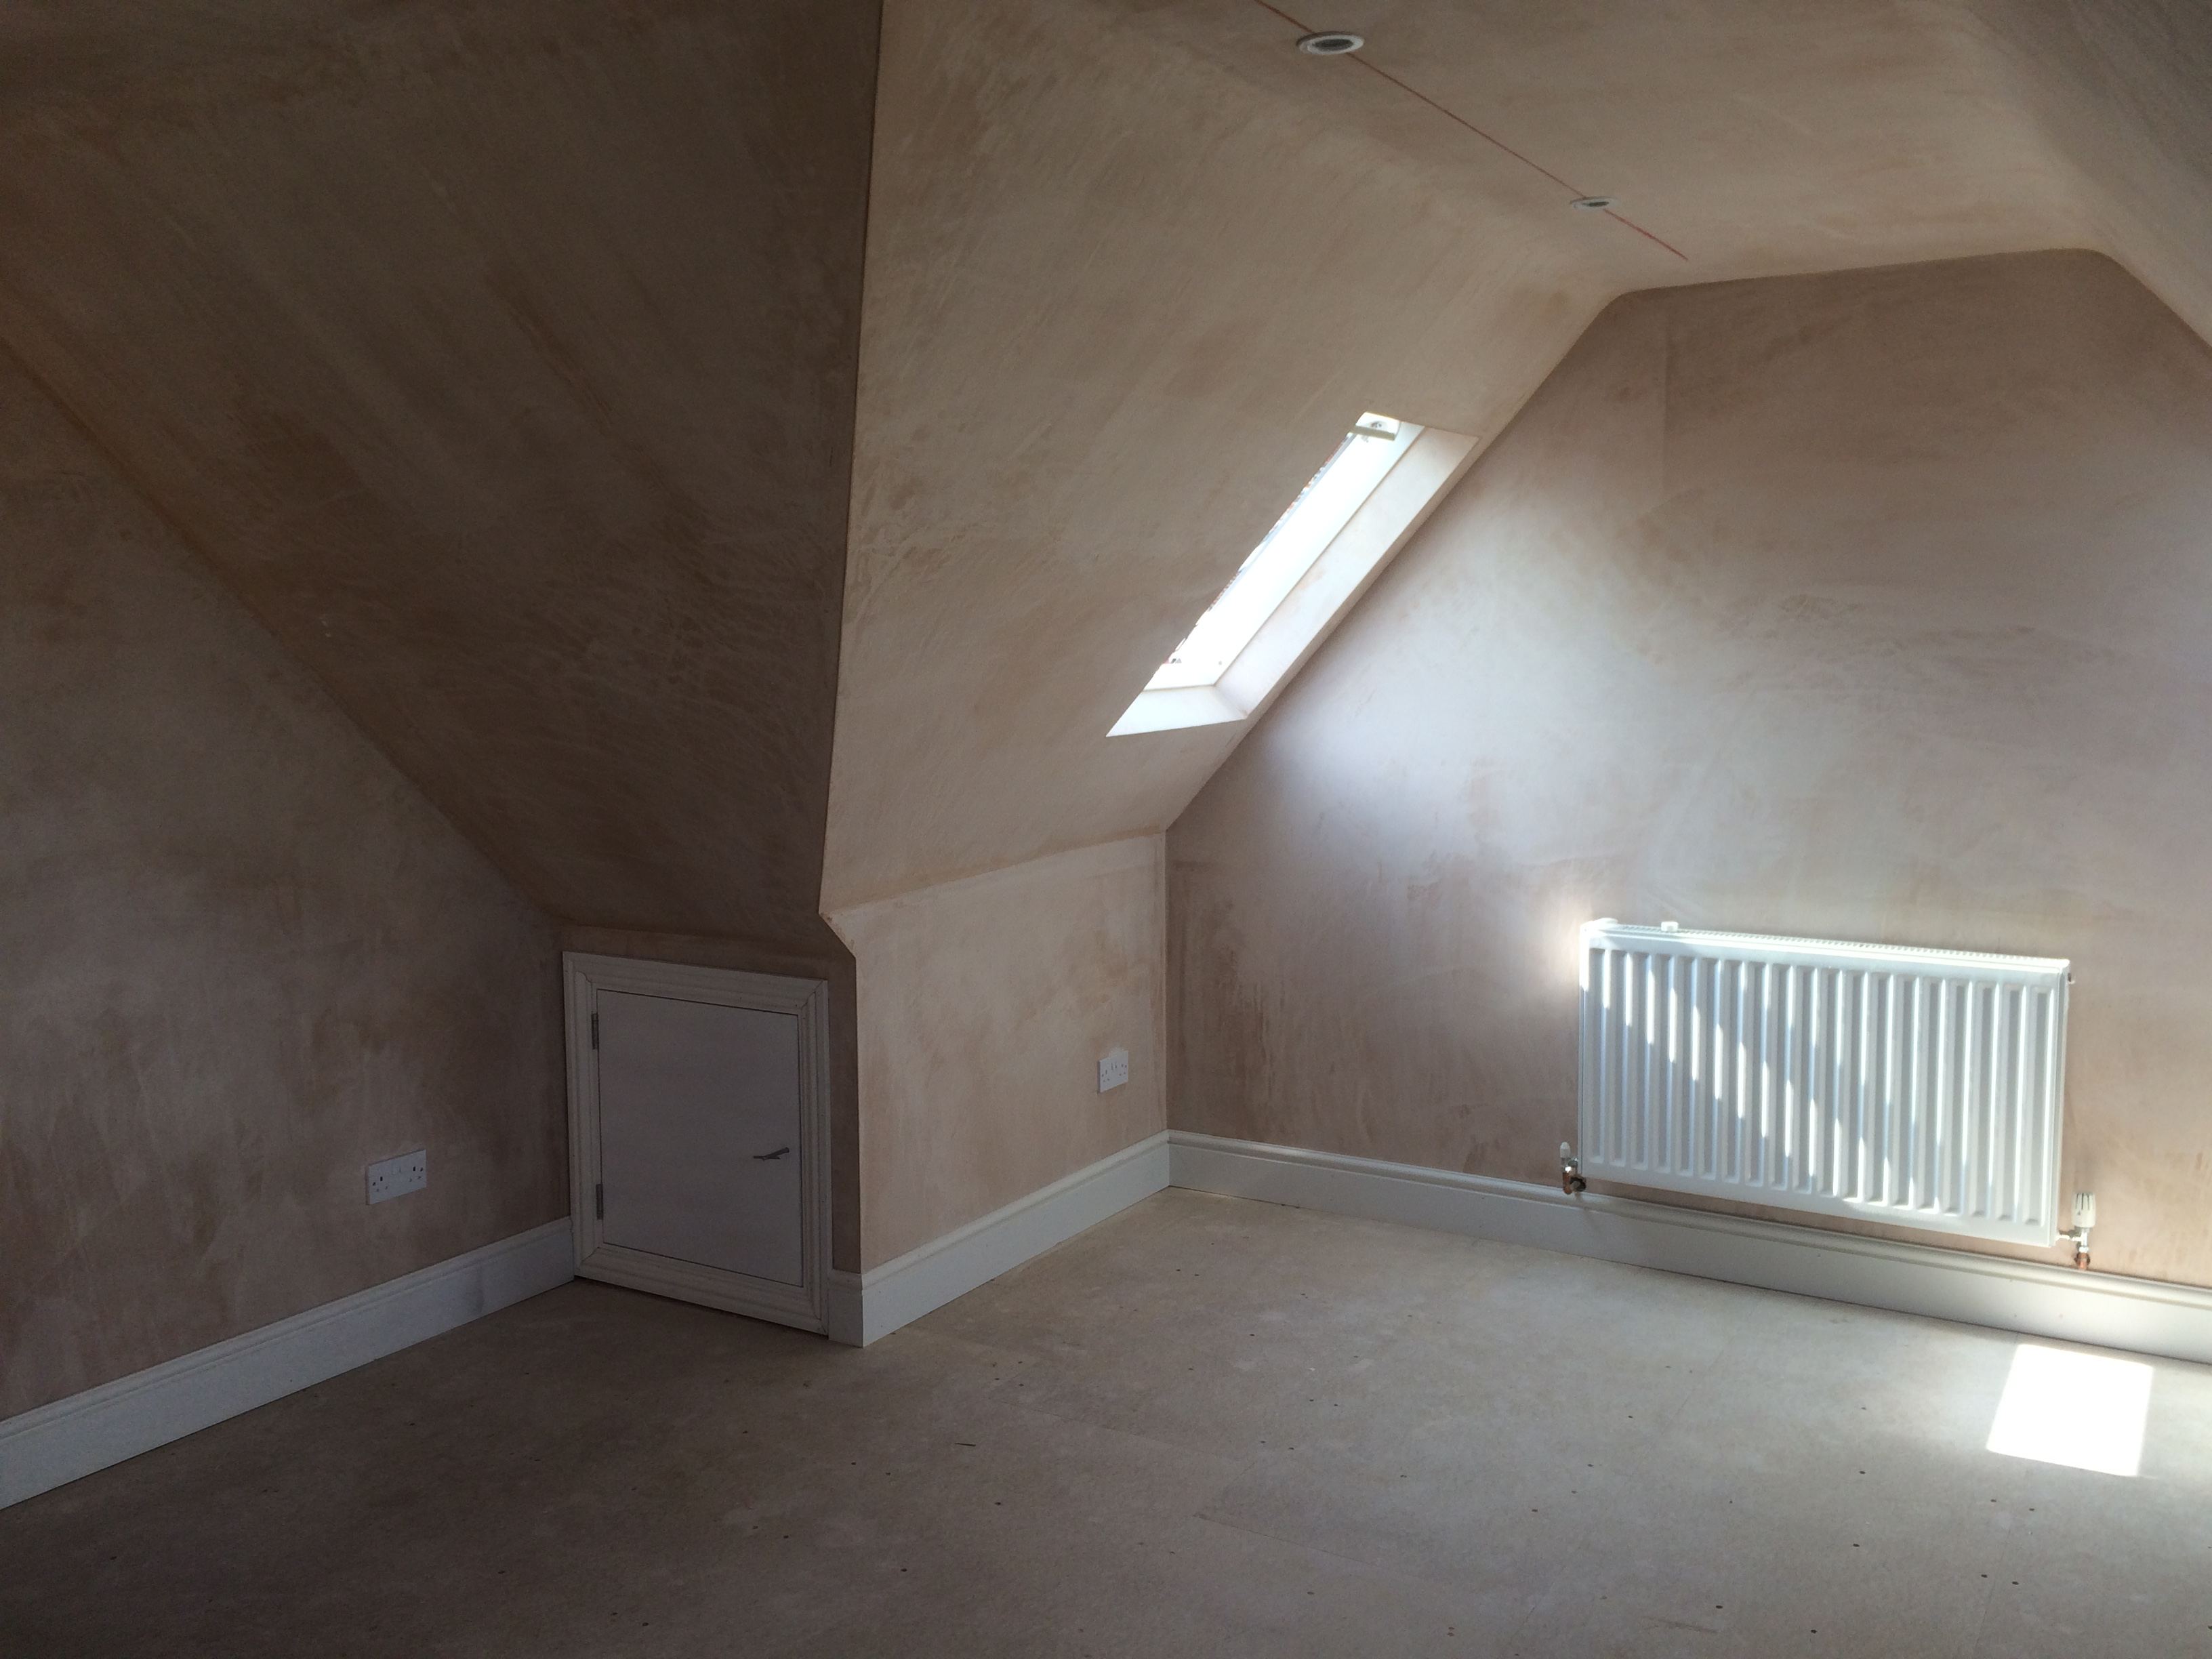
Stage Thirteen:
Wall and floor tiling if required can then be completed and shower room items can be positioned and fitted. The second fix electrics and plumbing can also take place now. Radiators are fitted in place and connected to the central heating system and your loft conversion is completed.
So there it is, your step by step guide on what to expect during a loft conversion.
If you are located in Surrey, Hampshire or South West London then please contact SkyLofts to discuss your loft conversion on 01252 500 872 or email info@skylofts.co.uk